
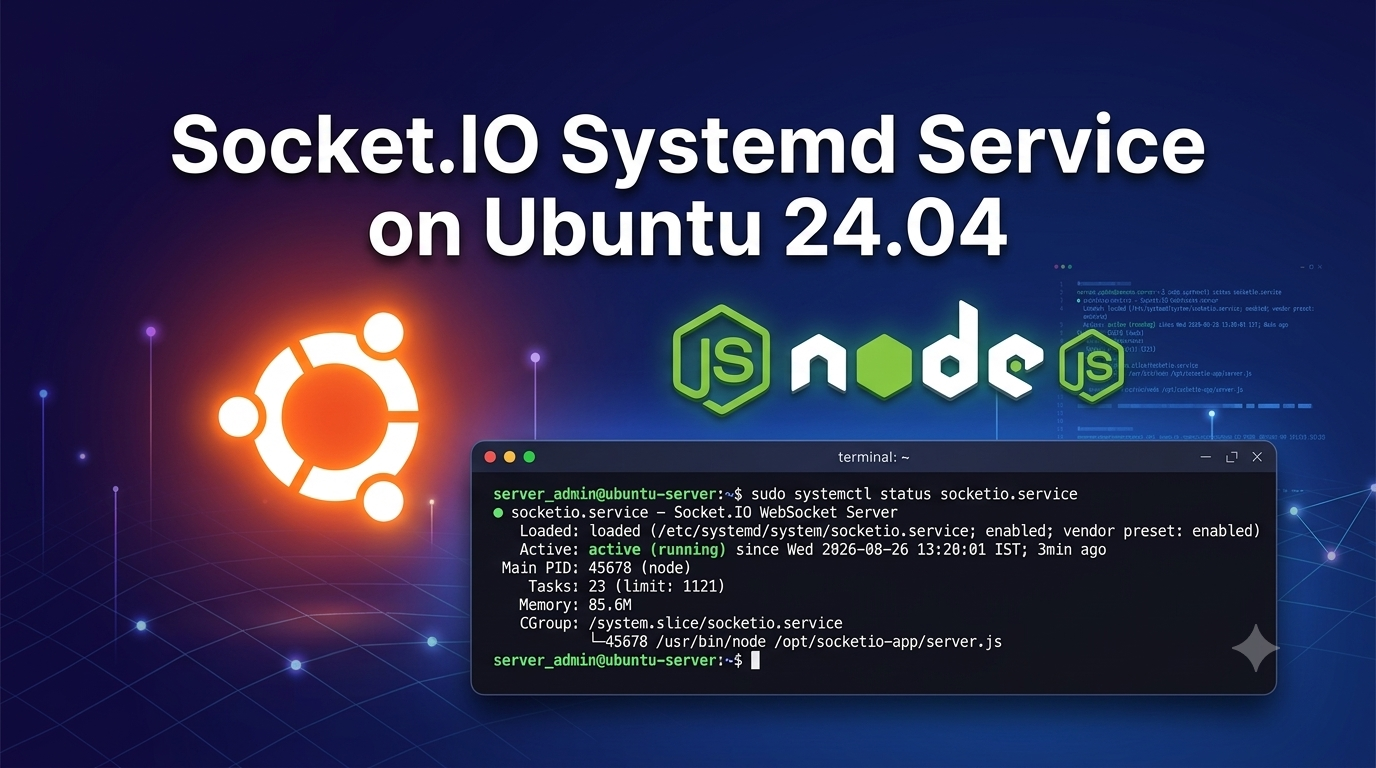
Socket.IO Systemd Service Setup on Ubuntu 24.04
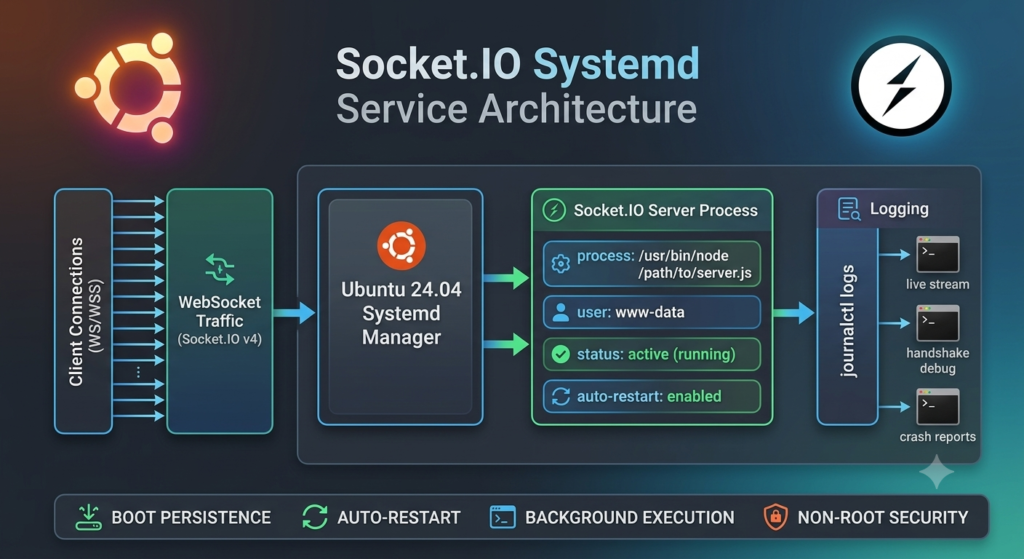
Configuring a dedicated Socket.IO Systemd Service on Ubuntu 24.04 is essential for production uptime. Starting your Node.js WebSocket process manually via SSH means the application shuts down as soon as your terminal session disconnects. By integrating your process into systemd, Ubuntu handles background execution, automatic restarts after crashes, and system logging.
Why Create a Socket.IO Systemd Service?
- Continuous Uptime: Keeps the WebSocket server active in the background.
- Automated Failure Recovery: Restores application state within seconds if an uncaught exception occurs.
- Boot Persistence: Re-establishes active socket listeners immediately following server reboots.
- Security Hardening: Allows execution under a restricted non-root system account (
www-data).
Prerequisites & Path Check
Before creating your unit file, verify the absolute system paths for Node.js and your project directory:
#Verify Node.js absolute binary path
which node
# Expected output: /usr/bin/node
For official Node.js installation instructions, refer to the Socket.IO Documentation.
Step 1: Create the Systemd Service File
Create a dedicated unit configuration file in your system directory:
sudo nano /etc/systemd/system/socketio.service
Step 2: Add Configuration to the Service File
Paste the following configuration into your file. Make sure to update WorkingDirectory and ExecStart to reflect your actual project path:
[Unit]
Description=Socket.IO Systemd Service
Documentation=https://socket.io/docs/v4/
After=network.target
[Service]
Type=simple
User=www-data
Group=www-data
WorkingDirectory=/var/www/socket-app
ExecStart=/usr/bin/node /var/www/socket-app/server.js
Restart=always
RestartSec=5s
Environment=NODE_ENV=production PORT=3000
StandardOutput=journal
StandardError=journal
SyslogIdentifier=socketio-service
[Install]
WantedBy=multi-user.target
Assign directory permissions to the restricted user:
sudo chown -R www-data:www-data /var/www/socket-app
Step 3: Reload Systemd Daemon
Notify systemd that a new unit file has been registered:
sudo systemctl daemon-reload
Step 4: Enable the Service
Configure the process to boot automatically on server startup:
sudo systemctl enable socketio.service
Step 5: Start the Service
Launch the process immediately in the background:
sudo systemctl start socketio.service
Step 6: Verify Service Status
Check runtime health to confirm active execution:
sudo systemctl status socketio.service
Optional: View Logs with Journalctl
To inspect live WebSocket client connections or debug unexpected runtime crashes, stream application logs directly using journalctl:
# Stream real-time logs
sudo journalctl -u socketio.service -f
# Print the last 100 log entries
sudo journalctl -u socketio.service -n 100
Systemd Troubleshooting Matrix
| Exit Status Code | Root Cause | Solution |
| 203/EXEC | Invalid path to node in ExecStart | Run which node and update ExecStart with the exact path. |
| 200/CHDIR | WorkingDirectory path does not exist | Verify folder spelling and file permissions via chown. |
| 1/FAILURE | Node syntax or missing npm package | Execute node server.js manually as www-data to isolate errors. |
Running a Socket.IO Systemd Service on Ubuntu 24.04 ensures production-grade uptime, automated failure recovery, and efficient process supervision.
How do I restart my Socket.IO service after deploying code updates?
Apply updates by running sudo systemctl restart socketio.service without restarting the server.
Should I use Systemd or PM2 for managing Socket.IO in production?
While PM2 offers simple cluster management, a Socket.IO Systemd Service runs natively at the OS layer without extra Node.js process manager overhead.
How do I handle sensitive environment variables securely?
Add parameters to your service file using Environment="DB_HOST=127.0.0.1" or link an external configuration via EnvironmentFile=/etc/socketio.env.
